

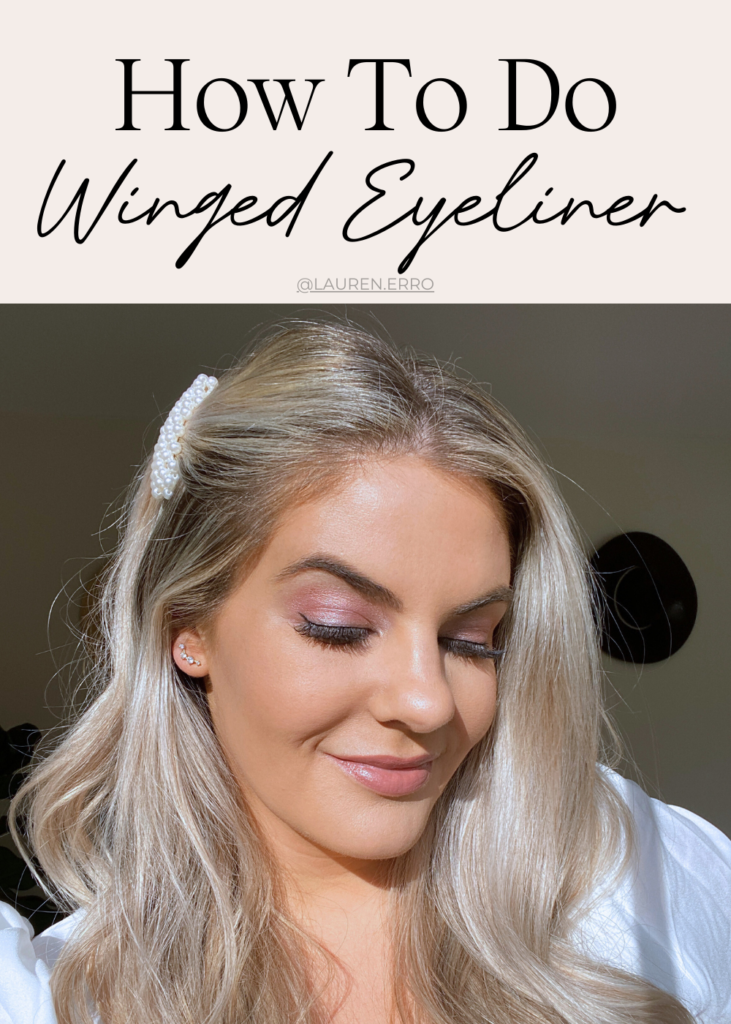
The Easiest Guide for how to do Winged Eyeliner
Winged eyeliner can significantly impact your makeup look and bring out your eyes. By emphasizing the outer corners of your eyes with a flick of liner, you can highlight your eye shape and enhance your overall look. But, winged eyeliner is one of those makeup techniques that intimidates a lot of people. And for good reason! What works for one person may not work for another since we all have unique eye shapes. There’s no one-size-fits-all approach to achieving the perfect wing. Your eye shape is unique and there are different methods that can work better for you.
In this post, I’m going to explain exactly how to do perfect winged eyeliner. Whether you’re a new to makeup, or you have shaky hands, I’ll walk you through every step of the way. From choosing the best eyeliner to finding the perfect angle.
Step 1: Finish your eyeshadow
All the professional makeup artists say if you’re doing a full eye look you’re going to want to finish your eye makeup first. The wing should be your last step.
If your eyeshadow doesn’t last the entire day, I recommend you try an eyeshadow primer.
Step 2: Decide what type of look you want
Do you want a super sharp wing? Or are you looking for a more blended look? Do you want a classic black color? Or a brown or bright shade instead? There are lots of eyeliner products to choose from and knowing what your goal is will help you determine what makeup to use.
If you want a super sharp wing you’ll want to grab an eyeliner pen with liquid liner. *not a pencil liner- if it can be sharpened this is not the tool you want. I like eyeliner pens with a felt tip- those are always the most precise. I prefer liquid eyeliner to gel liner.
If you’re looking for a more blended look grab your angled brush and black eyeshadow or your darkest eyeshadow shade and this brush. This has been my daily eyeliner method for years. I love it because it’s super easy, quick, and basically foolproof. Using eyeshadow as your eyeliner on your top lash line actually accentuates your lashes because the powder falls into your lash line and makes your lashes look thicker too!
I’ll be honest, I avoid eyeliner pencils, and stamps altogether. The pencils are always too thick and don’t get close enough to my lash line. The stamps always end up crooked and are usually too thick for my preference.

Step 3: Apply your eyeliner everywhere *except the wing
Similar to finishing your eyeshadow look. You need to complete your eyeliner on your upper lash line. This just leaves you with the final step of applying your wing.
If you’re using a pen draw as close to your lashes as possible.
If you’re using a brush stamp the eyeliner along your lash line.
I’d recommend trying out a few methods to see which one works best for you.
Step 4: Draw the winged liner
To apply your wing there are a few different application methods. You can start from the outer corner of your eye and go out, or you can start on the wing tip and work your way in towards the outer corners of the eye.
The easiest way is to grab your pen or brush with eyeshadow and stamp your eyeliner wing next to the end of your eye diagonally. The best way to find what angle works best for you is to line up the angle with the front half of your brow (the part closest to the bridge of your nose).
I did this method for years and it works so well BUT I recently discovered this tool and it gives me the perfect line every time. It truly makes applying a wing foolproof, especially if you don’t have the most steady hands. You place it next to your outer eye and line the angle up with the angle of your inner brow. Then you can trace your liner along the tool for your cleanest wing! Whether you’re like me and prefer a small wing, or you want a big dramatic bold wing. This tool will help!
Whichever method you choose DO NOT PULL on the side of your eyelid when you apply a wing. Since your eyes don’t naturally do that this will create a greater chance for disaster. It may look like you’re drawing a straight line but once you release the skin you’ll likely end up with a jumbled mess.
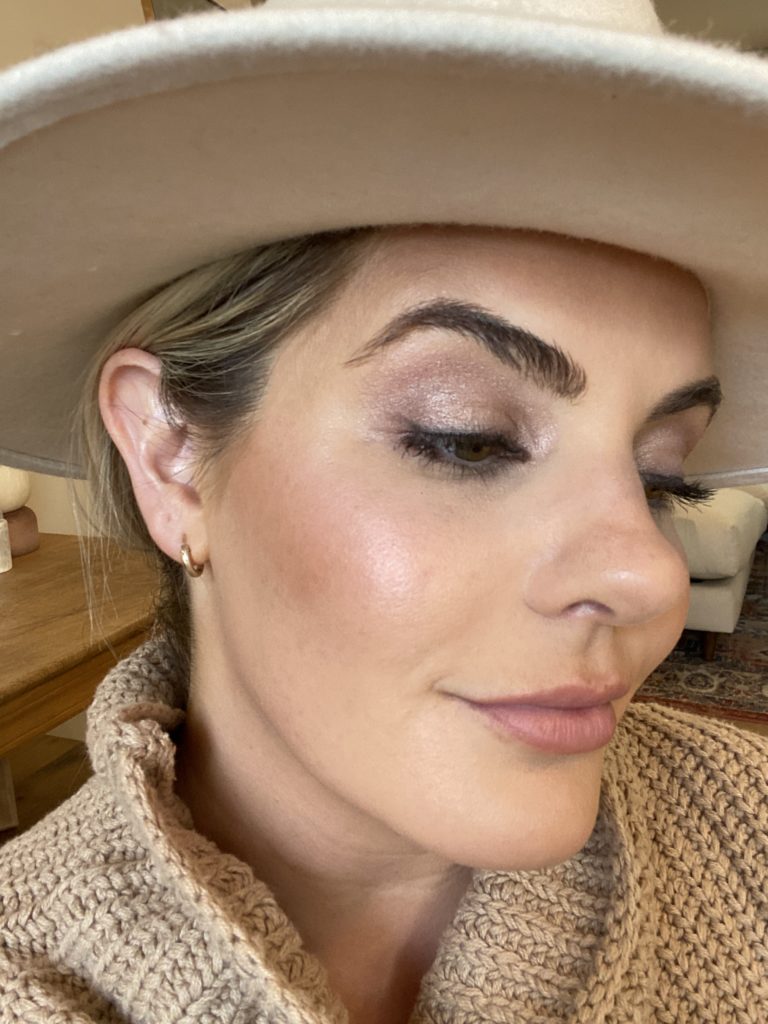
If you’re aiming for a soft glam makeup look, stop drawing your wing just slightly outside of your lid.
To go with a full wing, drag the liner a bit further out toward the outer end of your eyebrow. *Obviously, you don’t want to go all the way to your brow.
Pro tip: Place your elbow on a stable surface and the palm of your hand on your cheekbone. This way, you can have a steady hand and get that sharp wing.
Step 5: Fill in the wing.
Once I get the base shape of my wing done I go to the top part of the wing and blend it toward my eyelid so I don’t have any weird angles.
Now that you have the first layer perfected, make small and small strokes, tracing over those spots. This is when you can slightly pull your lid out while looking down or have your eye closed so that you can completely fill in your eyeliner.
Step 6: Perfect your wing (if needed).
If your wings are slightly uneven or have a different thickness, a great way to remove any mistakes is with a Q-tip with makeup remover. Or, If you used the brush with eyeshadow method -this is a little more forgiving- you can usually grab a dense flat small brush and brush the line out or try to fix the thicker line with a simple swipe. If that’s not working remove the botched wing and start over. After a bit of trial and error you’ll find your best signature look.
That’s it! Now apply your mascara or fake lashes and you’re good to go!

This Post Was All About Winged Eyeliner
If you like makeup tutorials you may also like:
Magnetic Lashes: Everything You Need To Know
KISS Falscara Lash Starter Kit REVIEW
Glowy Makeup Tutorial For Combo Skin
xx,
Lauren

One Comment